
A — Learn the controls before spending
Finish the Beginner Island walkthrough, reach Awakening 3 and follow the passage to Titan. Bind your healing rune to Use on yourself and your main attack to a separate key. Open System Guides using its separate button or, with grouped buttons, through Library. Replay Client Features whenever a window feels unfamiliar.
 View full size ↗
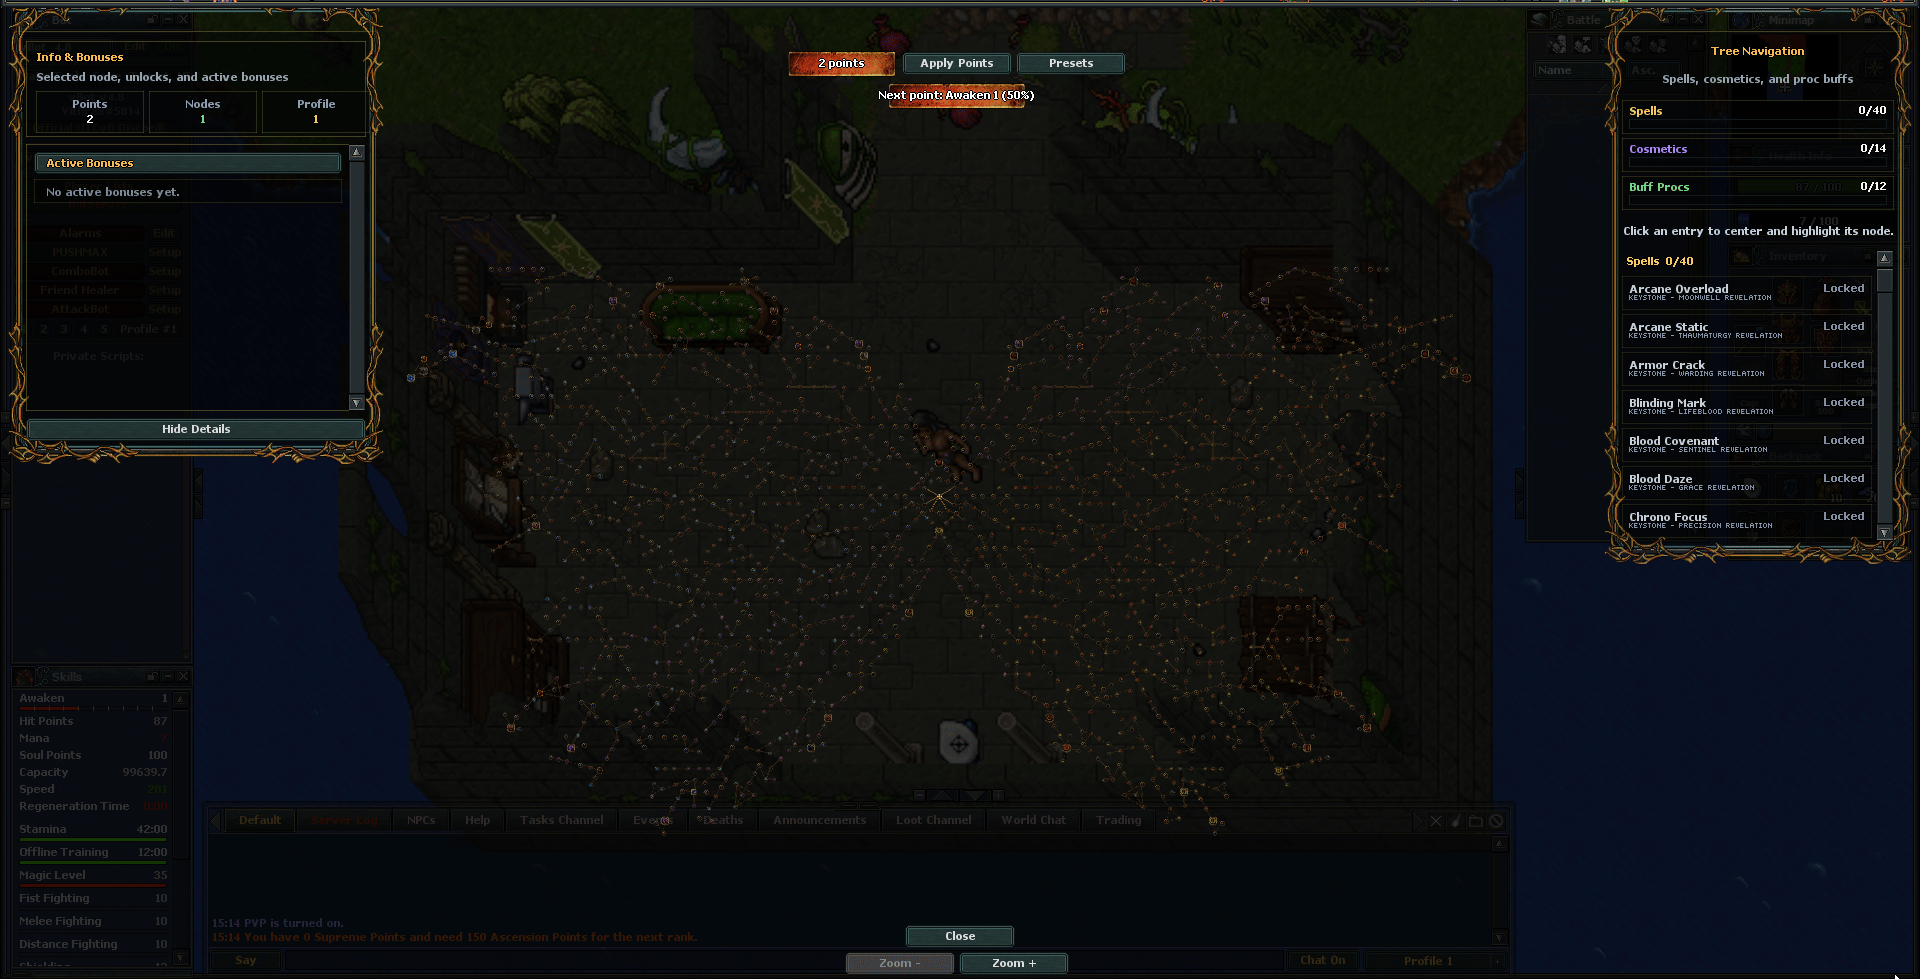
 Apply Points and Presets are above the tree. Read the selected node and active bonuses on the left, and use the right-hand navigation to locate spells and effects.
B — Pick one visible objective
Open the Quest List, select your active mission and read its current state, required items, kills and reward. Do that step before collecting materials for an unrelated future tier. If the objective is complete but no reward appears, return to its NPC or quest interaction.
C — Start the story and keep your rewards
At Awakening 20, find Lady Eirwyn and begin the Lightbringer story. Follow Captain Zayn, Wizard Geilinoth, World Guardian Udyr and Azir The Sentry as the journal directs. At Awakening 50, Fighter Zilor's missions provide Draken equipment. Keep those pieces for Kaur's later exchange.
 View full size ↗
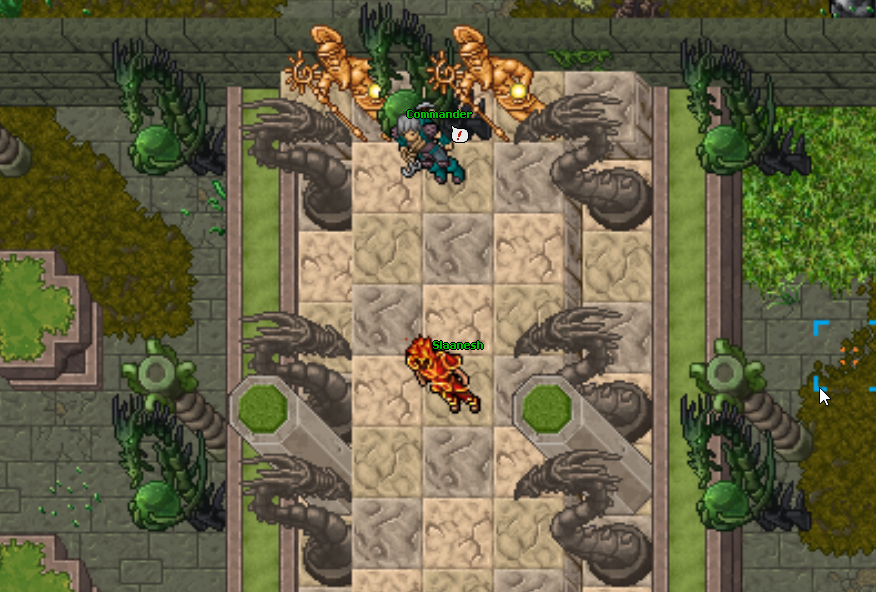
 The Commander is shown with the quest marker. Match the NPC to your current objective before moving to the next area.
D — Build your character alongside Awakening
Spend available Talent Grid points and read the effect of each choice. Work through Ascension objectives and achievements; they provide another visible list of goals. Unlock and equip useful ability cards before chasing ideal rolls. Save different talent/card setups for hunting and bosses.
E — Establish a material income
Use Cyclopedia monster loot pages to choose a hunt with useful materials, then configure Auto Loot. At Awakening 50 and Fishing 10, the mechanical rod can catch the first Fishing Islands boss. Mining requires the golem wrench quest. Gathering is optional; expensive rarity upgrades are long-term investments.
 Blue shard2,500 for rarity 2 · 7,500 for rarity 3
  Violet shard2,500 for rarity 2 · 7,500 for rarity 3
  Green shard2,500 for rarity 2 · 7,500 for rarity 3
 Wrench upgrades need blue, violet and green shards together. Saving only one color leaves the recipe incomplete.
F — Reach the first major gear exchanges
At Awakening 250, Kaur's exchange uses the Draken set and a rough red gem for Light Silver. Compare Prismatic and other unlocked pieces in Cyclopedia by vocation and actual attributes. Check the displayed equip requirement before buying: an item's name alone does not prove you can use it.
G — Improve healing before chasing damage
Use the rune progression guide. Glow Wine from fishing upgrades Ultra Super healing runes to Deepling. At Awakening 300, Gunzor's material quest leads to Titan +1. At Awakening 750, Lord Kael's trials lead into Path of Zulus and the Titan +2 reward. Follow the current journal steps rather than skipping the required quests.
H — Follow the Revolution route
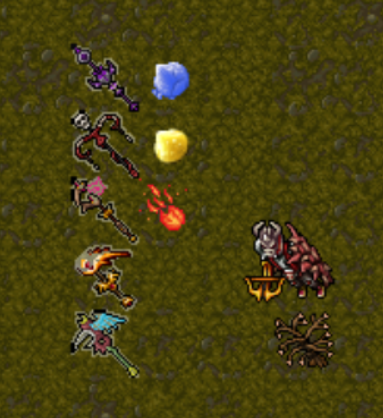
Domination/Cursed Domination progresses through Revolution +1, +2 and +3 using the matching upgrade materials. Armor and weapons use different materials. Open Revolution Upgrades for the exact recipe, then use the linked monster loot pages to select your farming target.
 View full size ↗
 The weapon example is shown beside its colored materials. Check your exact exchange recipe and save the required material before spending it elsewhere.
I — Choose an endgame equipment target
The broad equipment milestones are Blue Falcon at 500, Mithril at 600, Achilles at 650, Dark Seducer at 700, and Scorpion/Medieval at 750. These are families, not a required shopping list. Compare individual pieces, your vocation, defensive needs and crafting ingredients; avoid replacing an effective piece simply for a newer name.
J — Add structured challenges
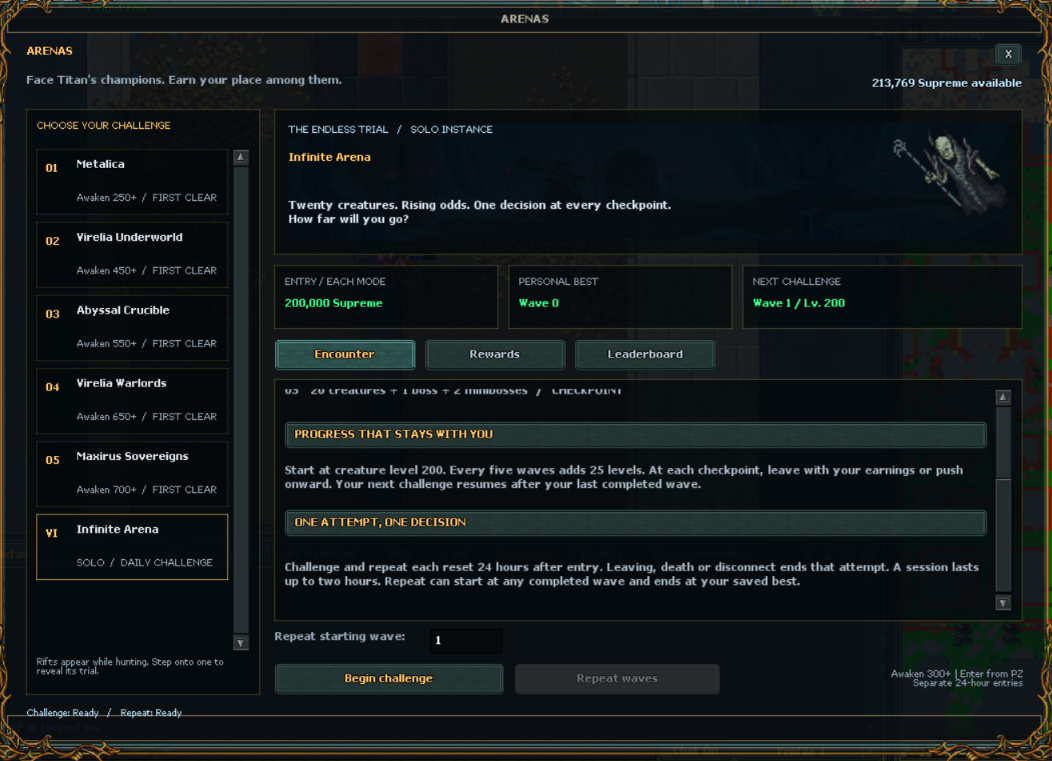
Open Arenas for group trials, solo Infinite Arena and private rifts. Use Boss Cooldowns to plan encounters instead of waiting at an empty spawn. Team hunts now have stronger monsters and ten times their previous base gold. Go with healing and survival prepared.
 View full size ↗
 The arena list is on the left; Encounter, Rewards and Leaderboard are on the right. Infinite Arena has separate Begin challenge and Repeat waves controls. The cost shown belongs to the captured character.
K — Invest in +16–20 only when ready
Eligible equipment must require Awakening 500 or more. Major Crystals attempt +16 through +20 at 5%, 4%, 3%, 2% and 1%. Budget for catalysts, failed attempts and rerolls. Choose a useful six-slot Ascendant spirit before spending heavily on a perfect six-of-a-kind result.
A protected checkpoint is the floor, not a guarantee that the next attempt succeeds. Reaching +15 permanently replaces the earlier +12 floor.
L — Specialize with Ascended rewards
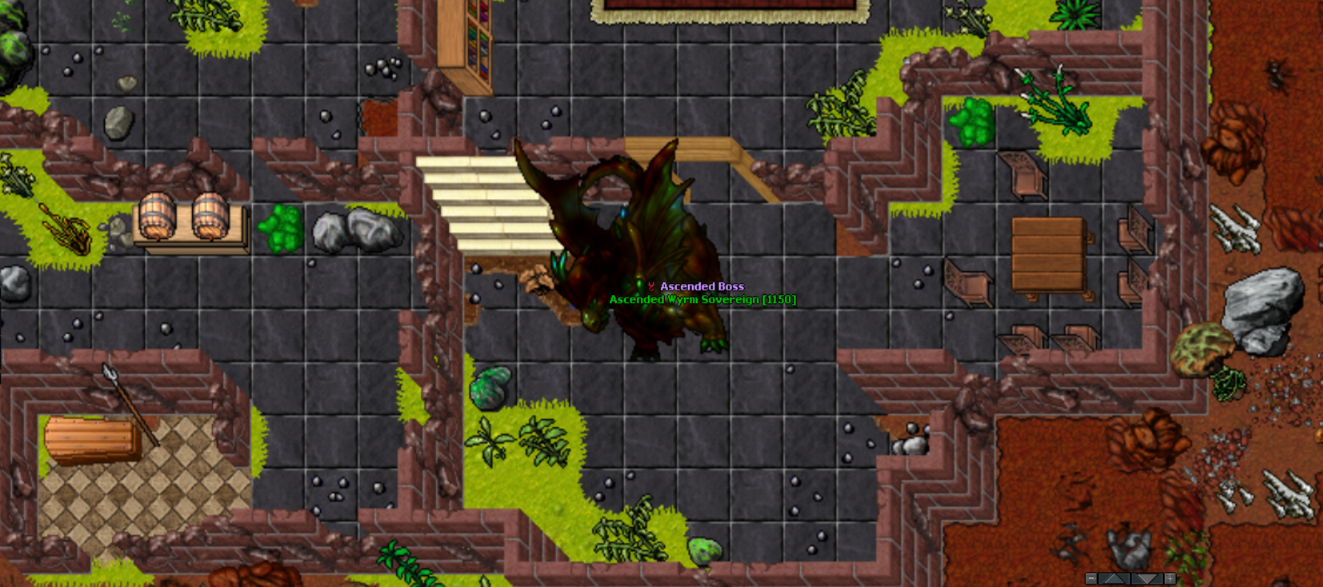
Prepare for the five Ascended Sovereigns, follow their daily timers, and join the extra trio spawned by a completed World Objective. Compare Abyssal equipment's concentrated bonuses with your current setup; it is a specialization goal, not a reason to discard every balanced piece.
 View full size ↗
 The purple Ascended Boss label appears above Ascended Wyrm Sovereign [1150]. Read the name and level before engaging, then prepare with your group.
Your next session in five decisions
Choose one quest step, one missing material, one build improvement, one timed activity and one spending limit. If you are dying, improve healing and defense or hunt lower. If you do not know a material source, search its item name in Cyclopedia. If you do not know how a feature works, open its System Guide and start the tutorial.
Continue learning
Client Features: Hotkeys, Builds and Your Next Goal
Set up card switches, talent presets, action bars, quests, guides, boss timers, crafting and Auto Loot.
Arenas and Private Rifts
How to enter group arenas, progress through Infinite Arena and use private rift portals.
Mining: Wrench Progression and Material Refining
Obtain the wrench, mine crystal shards, refine fragments and unlock ancient gold and Ascended Tokens.
Fishing: Rod Stages, Boss Pools and Empowerment Fish
The two-boss catch pool, Awakening-scaled fights, upgraded rods and four empowerment fish.
Abyssal Equipment: Specialize Your Build
Use individual Abyssal pieces to strengthen a specific build goal, weighing their stronger focused bonuses against the many attributes you give up.
Ascended Sovereigns: Schedule, Preparation and Rewards
The five Sovereigns, their daily locations, the World Objective trio and contribution-based Supreme rewards.
Equipment Upgrades and Ascendant Spirits
Separate rarity from +levels, reach +16–20 and build six-slot vocation-focused spirits without wasting materials.